

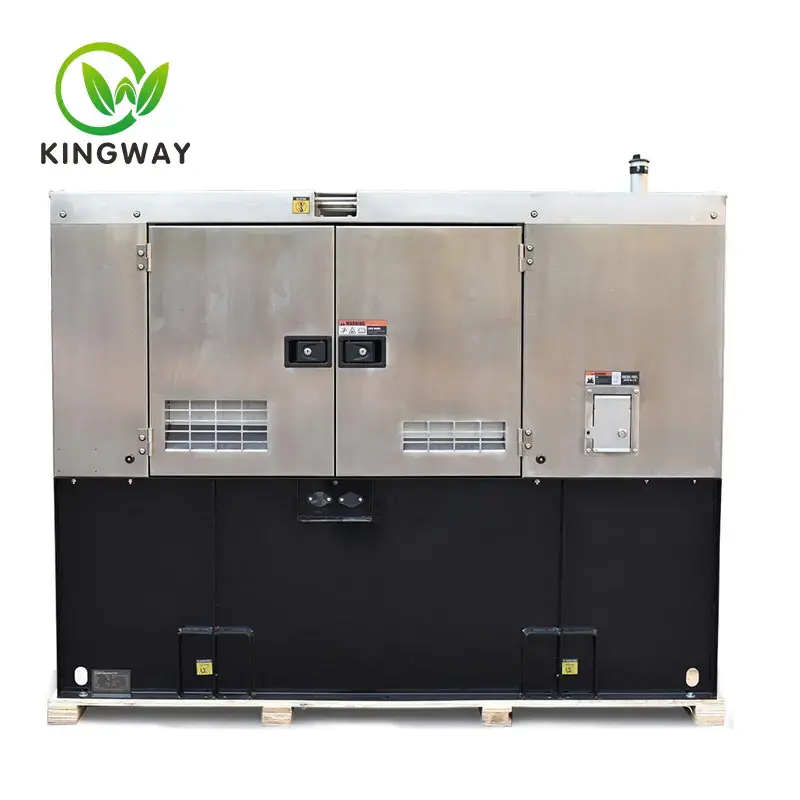
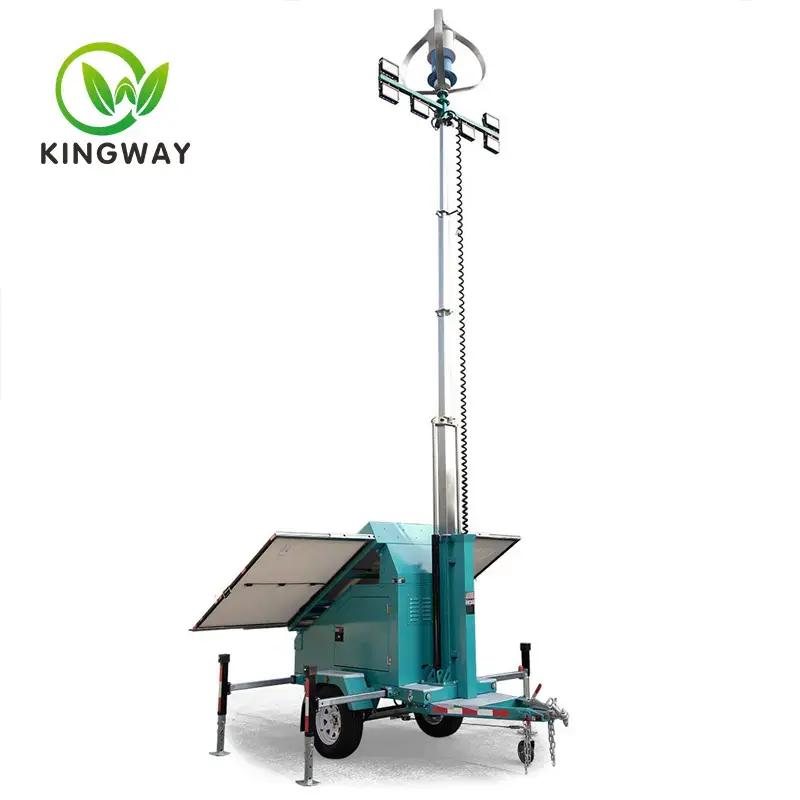
Mobile Lighting Trailer Supplier
What steps are required to deploy a mobile solar lighthouse?
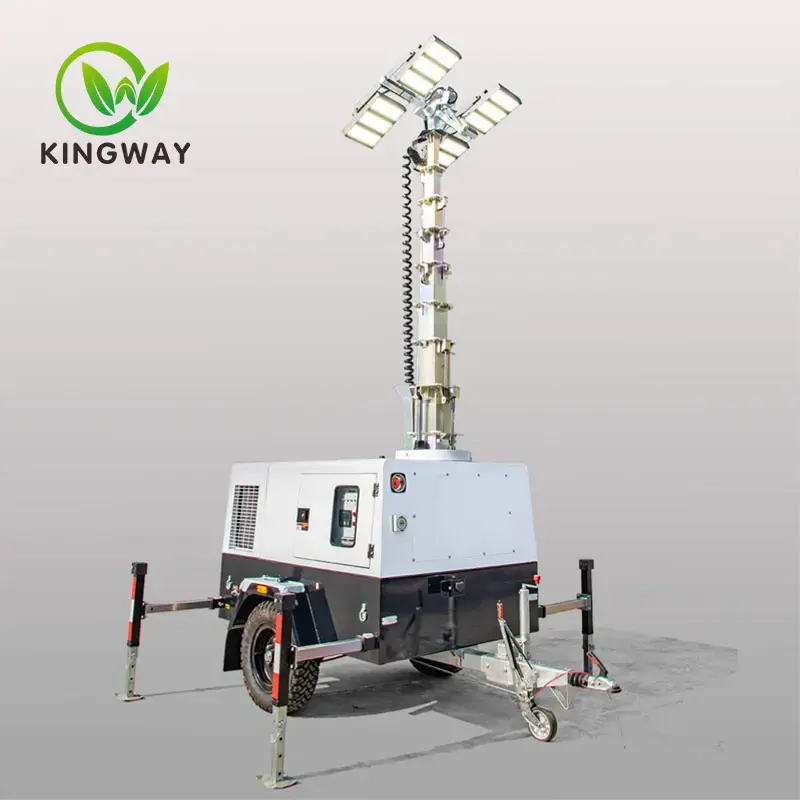
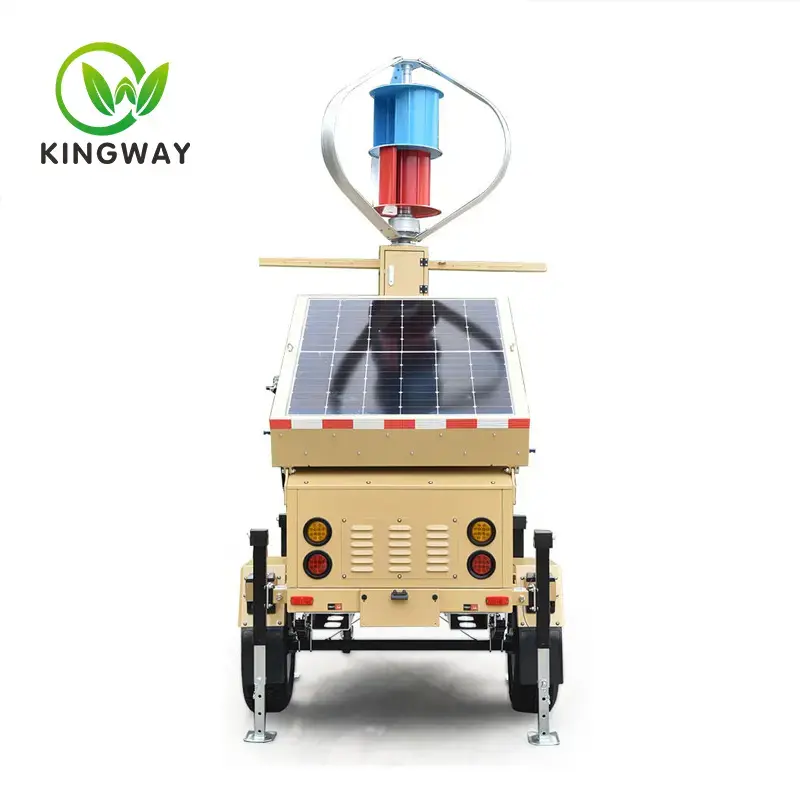
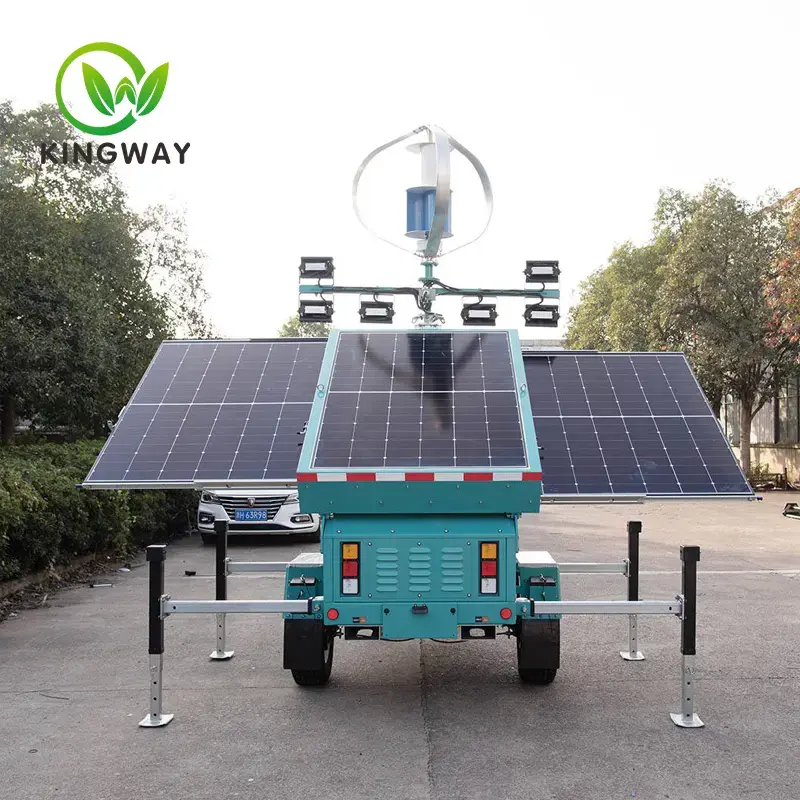
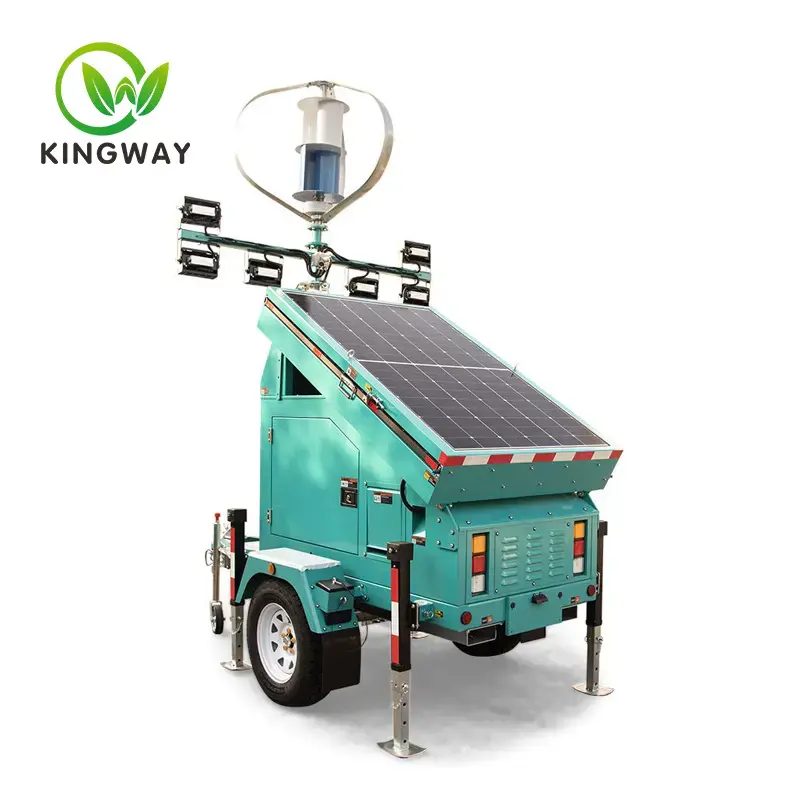
Mobile solar light towers are gaining more and more attention as an efficient and environmentally friendly lighting solution. They are not only suitable for urban lighting, but also can provide light sources in remote areas or temporary occasions. The following are the detailed steps for deploying mobile Solar Light Towers:
1. Site selection and foundation construction
1.1 Selection of lighting construction site
First, it is necessary to investigate the climate and surrounding environment of the installation construction site to determine the feasibility of the construction plan. The selection of the construction site should follow the following principles:
There should be no obstructions around the installation site to ensure that the solar cell modules can be illuminated normally.
The installation site must have smooth drainage.
If there are low-lying water points such as rivers and puddles within 10 meters of the installation site, the lowest point of the foundation must be higher than the highest water level of the water point within 50 years.
Public facilities such as cables and optical cables cannot be laid underground at the installation site to affect construction and installation.
1.2 Foundation construction of solar street lights
The foundation is a structure used to fix solar lamps, and it also plays the role of placing and protecting batteries. During construction, ensure that the foundation strength and structure meet the design requirements.
2. Component inspection and assembly
2.1 Component inspection
Count the lamps according to the delivery list; disassemble and check each component one by one with reference to the packing list and check for damage such as bumps, wear, deformation and scratches. Unqualified products are prohibited from being installed.
2.2 Assembling street lights
Assemble the light pole assembly and adjust the direction of the lamp head and the battery assembly. When assembling the light pole, the bolt connection is tight and the force is even. If necessary, use thread locking glue.
3. Installing solar cell modules
3.1 Component fixation
Fix the two sides of the solar cell module with bolts and tighten them; when placing the solar cell module, the junction box should keep the connection wire downward.
3.2 Wiring principles
The sheathed wire and the wiring terminal of the solar cell module must be connected firmly.
The sheathed wire runs inside the light pole and cannot be exposed.
After the connection is completed, use a multimeter to check whether each circuit is correct.
4. Install the battery compartment
4.1 Install the battery compartment
Remove the debris around the foundation and on the surface of the foundation, dig a pit next to the foundation that is suitable for the size of the battery buried box; remove foreign objects in the pre-buried threading tube in the foundation to ensure that the inside of the threading tube is unobstructed.
5. Vertical lights
5.1 Transport and erect lamps
3 to 4 people transport the lamps to the vicinity of the foundation, and then 2 to 3 people lift the lamps to the foundation and place them, slowly lowering the flange end of the lamps to the appropriate position on the foundation.
6. Wiring
6.1 Wiring steps
Remove the hatch, straighten the sheath wire in the lamp pole and check whether the sheath wire is damaged during the installation process. If damaged, use waterproof tape to stick it, and re-thread it if necessary.
7. Backfill
7.1 Fill and tamp
Fill and tamp; the layered tamping depth shall not exceed 150mm, and the density after tamping shall not be lower than the original soil; the backfill must be 50mm above the ground.
8. Debugging and use
8.1 Debugging work
After the installation is complete, some debugging work needs to be done. First, connect the battery to the power supply and make sure it is fully charged. Then, during the day, make sure the solar panel is exposed to the sun and observe whether the indicator light in the controller is on. If the indicator light is on, it means that the solar panel is generating electricity normally. Next, observe whether the light is on at night. If it is on, it means that the system is working properly. If the light cannot be lit, you need to check whether the power cord, controller and LED light are connected correctly and troubleshoot.
8.2 How to use
Solar Lighting Towers are very simple to use. Generally speaking, they are equipped with a light-sensitive probe that can realize the automatic light switch function. When there is sufficient sunlight, the solar panel will automatically generate electricity and store the electricity in the battery for nighttime use. At night, when the ambient light becomes dim, the probe will sense the change in light and automatically turn on the LED light to illuminate the surrounding environment. When it is daylight, the light will automatically turn off and start solar charging to ensure that the battery is fully charged again.
9. Maintenance and Care
9.1 Regular Inspection
Maintaining the charging status of the battery pack is key. You need to check the battery pack regularly and replenish the power in time. In addition, you also need to clean the solar panels regularly to ensure that their surface is clean and dust-free to improve power generation efficiency. If a failure occurs, you need to repair or replace the damaged parts in time to ensure the normal operation of the system.
The above steps can ensure the correct deployment and efficient operation of the mobile solar lighthouse. These steps cover the entire process from site selection, installation, commissioning to maintenance, providing a comprehensive guide for foreign investors to ensure that they can effectively deploy and use mobile solar lighthouses.

How long is the maintenance cycle of a solar lighthouse?
The maintenance cycle of solar light towers usually depends on multiple factors, including cleaning of panels, replacement of battery packs, inspection and replacement of lamps, and inspection of controllers and circuits. Here are some specific maintenance cycle recommendations:
Solar panel cleaning: Solar panels need to be cleaned regularly to maintain their light energy conversion efficiency. It is generally recommended to clean them every 3 months
Replacement of battery packs: The battery pack of solar street lights is a device that stores solar power, and its life is generally 3-5 years. When the battery pack ends its life or the capacity drops to a certain level, it needs to be replaced. In general, the battery pack of solar street lights is replaced every 3-5 years
Inspection and replacement of lamps: The lamps of solar street lights are key components of lighting, and their life is generally 3-5 years. During use, the lamps may have problems such as bulbs going out and dim lights, which require inspection or replacement. In general, the lamps of solar street lights are inspected and replaced every 3-5 years
Inspection of controllers and circuits: The controllers and circuits of solar street lights are devices that control and regulate the supply of solar power, and their normal operation is essential to the lighting effect of street lights. Regularly check the working status of the controller and circuit to ensure their normal operation. It is generally recommended to perform an inspection once a year.
Based on the above information, the maintenance cycle of the solar lighthouse can be summarized as: cleaning the panels every 3 months, replacing the battery pack and lamps every 3-5 years, and inspecting the controller and circuit once a year. These maintenance measures help ensure the normal operation of the solar lighthouse and extend its service life.